How to Throw a Baseball: A Parent's Guide to Teaching Your Child

Teaching your child how to throw a baseball might seem intimidating, especially if you didn't grow up playing the sport. But here's the good news: throwing is a natural motion that kids can learn with just a few simple cues and lots of practice.
You don't need to be a former player or a certified coach to help your child develop good throwing habits. What you need is patience, encouragement, and a basic understanding of the mechanics. This guide breaks it down into simple steps that any parent can follow.
The key is to start with the basics and build from there. Rushing into advanced techniques before mastering fundamentals is the most common mistake parents make. Let's take it one step at a time.
Why Proper Throwing Matters
Before diving into mechanics, let's talk about why this matters:
- Injury Prevention - Poor throwing mechanics put stress on young arms and can lead to elbow and shoulder problems
- Accuracy - Good mechanics lead to consistent, accurate throws
- Velocity - As kids grow, proper form allows them to throw harder without straining
- Confidence - Kids who throw well feel more confident on the field
The habits your child develops now will stick with them for years. It's much easier to learn correctly from the start than to fix bad habits later.
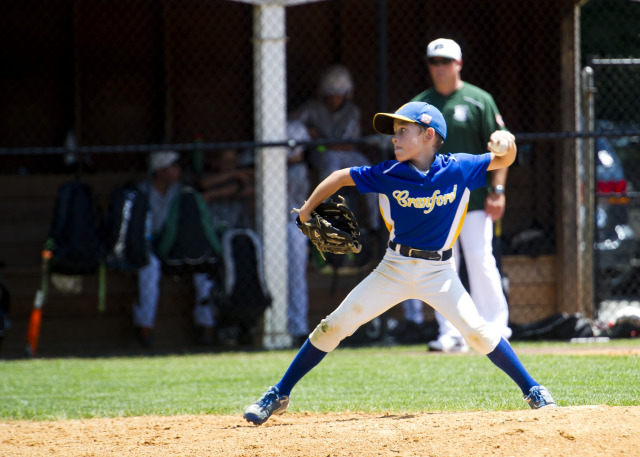
The Most Important Concept: Your child throws with their legs and body, not their arm. The arm has tiny muscles that can't generate much force on their own. The arm just goes along for the ride. Professional players look like they throw effortlessly because they use their whole body. Everything starts from the ground up.
Step 1: The Grip (The fastball" class="glossary-link">4-Seam Fastball Grip)
Everything starts with how your child holds the ball. The 4-seam grip is the foundation of good throwing.
How to do it:
- Find the horseshoe - Look at the seams on the baseball. You'll see a "C" shape or horseshoe pattern
- Place two fingers across the seams - The index and middle fingers go across the top of the horseshoe, where the seams are closest together
- Thumb underneath - The thumb goes on the bottom of the ball, directly below the fingers
- Leave a gap - There should be a small space between the ball and the palm, don't squeeze it
Simple cue for kids: "Hold the ball like an egg, firm enough it won't drop, gentle enough you won't crack it."
Common grip mistakes:
- Squeezing too tight (causes arm tension)
- Palm pressed against the ball (reduces spin)
- Fingers too spread apart (less control)
Step 2: The Ready Position
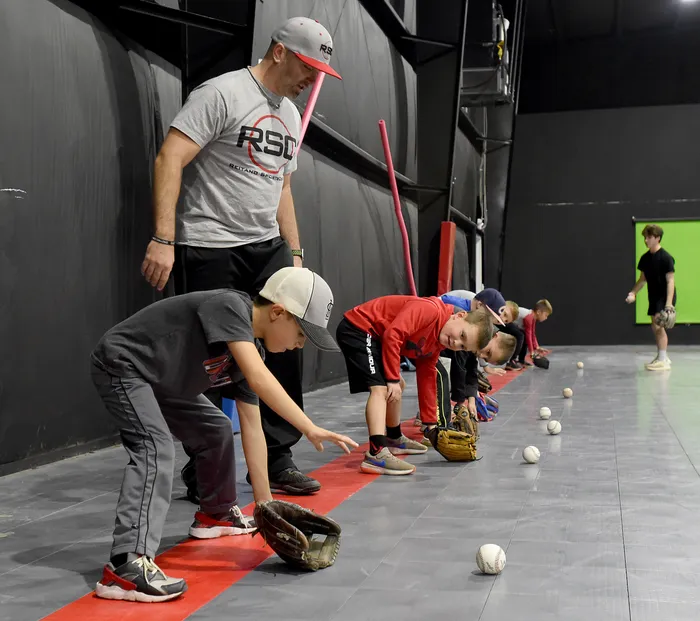
Before your child throws, they need to start in a good athletic position, like they're playing defense in basketball or linebacker in football.
The setup:
- Feet shoulder-width apart
- Knees slightly bent (not standing straight up, not hunched over)
- Weight balanced on the balls of the feet
- Shoulders relaxed
- Ball in the glove at chest height
Simple cue: "Stand like you're ready to move in any direction."
Feet Toward the Target
A good starting point: when your child catches the ball and goes to throw, their feet should generally point toward their target. Feet that are significantly open or closed make it harder to rotate and control the release.
That said, throwing on the move, off a step, turning, recovering, is a natural part of baseball. Elite infielders throw from all kinds of angles. The goal when learning is to develop a consistent base. From there, adaptability comes with experience.
Simple cue: "Catch the ball, step, and point your feet where you want the ball to go."
Step 3: The Throwing Motion (Step by Step)
Here's where we put it all together. Break this down into parts, then combine them once each step feels natural.
Part A: The Load and Weight Shift
Just like in hitting, throwing starts with a weight shift back before moving forward.
- Rock back - Shift weight slightly to the back leg (be careful the weight doesn't drift outside the knee)
- Push off - Push down with the back leg into the ground to generate force going forward
- Stride toward target - Step toward where you're throwing
Simple cue: "Rock back, then push forward."
Part B: Turn and Separate (Equal and Opposites)
- Turn sideways - Your child should turn so their glove-side shoulder points toward the target, like aiming a bow and arrow
- Hands separate - Both arms move apart as the body turns. One common teaching cue: thumbs break down and both arms separate at the same time. Different coaches teach this slightly differently, but the goal is a clean, coordinated separation rather than one arm leading the other
- Glove hand points at target - The front elbow extends toward where you're throwing
- Ball faces center field - The throwing hand should have fingers pointing toward center field (if at home plate) not cupped like a shot put
Simple cue: "Thumbs break down, arms separate together, point your glove at your target."
Part C: Arm Path (The "L" Position)
Arm path is important for both health and consistency. The conventional template, and a solid starting point for most young players, is an "L" shape:
- Elbow comes up - As the arm goes back, the elbow rises to around shoulder height
- Form an "L" - The arm makes roughly an "L" shape, with the elbow at about 90 degrees
- Ball faces away - At this point, the ball should be facing behind them, not toward the sky
Simple cue: "Make an 'L' with your arm, elbow at shoulder height."
A note on arm slots: some players naturally throw at a lower angle, three-quarter or sidearm. These are legitimate arm slots used at every level of the game. The "L" template is the most common teaching starting point, but arm slot varies among effective throwers. What to watch for is the ball facing upward toward the sky (called "short arming"), which removes power and can stress the elbow regardless of arm slot.
Part D: Stride and Hip Rotation
Power comes from the legs and core, not just the arm.
- Good stride length - Don't stride just a couple inches: take a comfortable stride toward your target. A short stride means you're throwing straight up instead of through the target
- Front foot opens slightly - Landing with the front foot open slightly (rather than completely closed) tends to help with hip rotation. The exact angle varies by player, somewhere in the range of 30 to 60 degrees open is common among effective throwers
- Tuck the glove - Don't rip your front elbow back. Instead, tuck the glove into your chest as you rotate
- Hips rotate - As the foot lands, the hips turn toward the target, pulling the arm through
Simple cue: "Step, tuck, and turn your belly button toward your target."
Part E: Release and Follow Through
The finish is just as important as the beginning.
- Lead with the elbow - The elbow leads the arm forward as you rotate
- Release out front - Let go of the ball when your arm is in front of your body
- Fingers on top - Keep your fingers on top of the baseball at release. If you're underneath the ball, all your throws will be high
- Follow your throw - The throwing arm continues down and across the body. Point to your target as you finish
- Finish balanced - Your child should be able to hold their finish position
Simple cue: "Fingers on top, throw through the target, and point to where you threw."
Common Throwing Mistakes (And How to Fix Them)
Mistake 1: Throwing All Arm
What it looks like: The body stays stiff while only the arm moves. The fix: Practice the "step and throw" motion. Emphasize stepping toward the target and turning the hips.
Mistake 2: Short Arming
What it looks like: The arm stays bent and never fully extends back. The fix: We have a complete guide to fixing short arming. Long toss and the "fence drill" are great solutions.
Mistake 3: Opening Up Too Early
What it looks like: The front shoulder flies open before the arm comes through. The fix: Cue them to "stay closed" longer and lead with the hip, not the shoulder.
Mistake 4: Pushing the Ball
What it looks like: A shot-put style motion instead of a fluid throw. The fix: Focus on the "L" position and letting the arm whip through naturally.
Mistake 5: Aiming Instead of Throwing
What it looks like: Hesitant, careful throws that lack fluidity. The fix: Encourage them to trust their mechanics and throw with confidence. Accuracy comes from repetition, not careful aiming.
Age-Appropriate Expectations
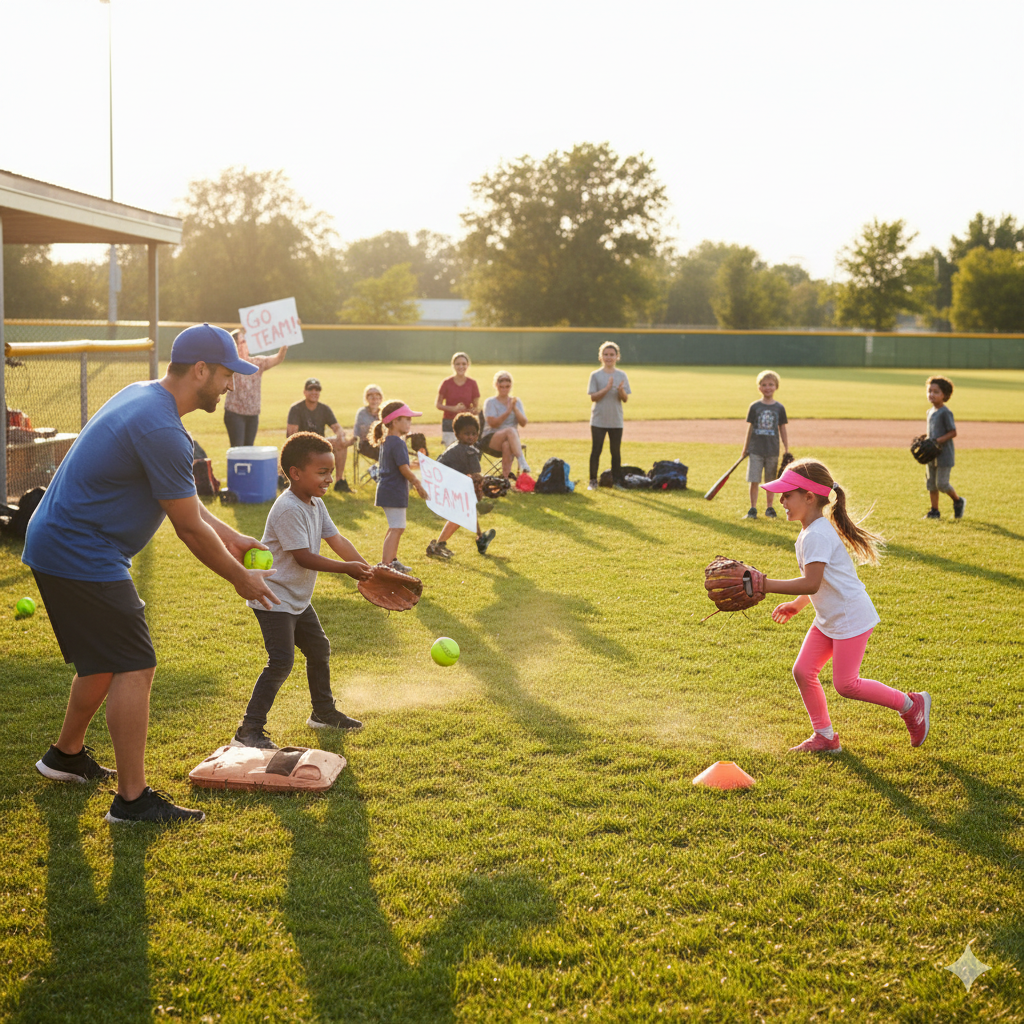
Different ages have different capabilities. Here's what to expect:
Ages 4-6 (T-Ball)
- Focus on having fun and getting comfortable with a ball
- Don't stress mechanics too much, just encourage throwing
- Short distances only (10-15 feet)
- Celebrate any attempt that goes forward
Ages 7-8 (Coach Pitch)
- Introduce basic grip and the "L" position
- Practice at 20-30 feet
- Keep sessions short (10-15 minutes of throwing)
- Focus on one thing at a time
Ages 9-10 (Kid Pitch)
- Mechanics become more important now
- Introduce hip rotation and follow-through
- Practice at 30-45 feet
- Can handle more detailed feedback
Ages 11-12 (Little League)
- Should have solid fundamentals
- Can work on refinement and consistency
- Throwing distance increases to 50-60 feet
- Ready for position-specific throwing
Fun Drills to Practice at Home
Build a Throwing Practice Plan
Need help organizing throwing drills into a complete practice? Our free Practice Planner lets you build custom practices with age-appropriate throwing drills included.
Drill 1: Wall Ball
What you need: A ball and a wall (or pitch-back net) How to do it: Stand 10-15 feet from the wall and throw. The ball comes back, so it's self-feeding. Great for repetition. Focus on: Hitting the same spot on the wall consistently.
Drill 2: Knee Drill
What you need: A partner or target How to do it: Kneel on your throwing-side knee. This removes the lower body and isolates the arm action. Focus on: The "L" position and follow-through.
Drill 3: One-Hop Catch
What you need: A partner How to do it: Stand 30-40 feet apart. Throw so the ball bounces once before reaching your partner. Focus on: Getting backspin on the ball (proper mechanics create backspin naturally).
Drill 4: Point and Throw
What you need: A target How to do it: Before each throw, point your glove at the target and hold for 2 seconds. Then throw. Focus on: Alignment and turning sideways properly.
When to Practice (And When to Rest)
Young arms need recovery time. Here are some guidelines:
- Ages 6-8: Max 15-20 throws per session, 3-4 times per week
- Ages 9-10: Max 30-40 throws per session, 4-5 times per week
- Ages 11-12: Max 50-60 throws per session, 5 times per week
Always follow these rules:
- Stop if there's any arm pain
- Take at least one full day off per week
- Warm up before throwing (arm circles, light catch)
- Cool down after (easy tosses, stretching)
Frequently Asked Questions
My child throws sidearm. Should I fix it?
Not necessarily. Sidearm is a legitimate arm slot, there are sidearm pitchers and infielders at every level of professional baseball. If your child throws sidearm naturally and it doesn't cause pain or accuracy problems, there is no requirement to change it.
One school of thought encourages young players to start with a more over-the-top motion because it is the most common template and gives coaches the most room to work with as the player develops. Another view is that arm slot is largely natural and trying to force a change can create tension and inconsistency.
The more important question is whether your child is short-arming, keeping the ball high instead of reaching back. That is worth addressing regardless of arm slot. Sidearm with a full arm path is fine. Any slot with a short, compressed arm path is harder to throw accurately and puts more stress on the elbow.
How far should my child throw?
Start close (10-15 feet for young kids) and gradually increase distance as mechanics improve. Distance should never compromise form.
When should I be concerned about arm pain?
Any persistent pain is a warning sign. If your child complains of elbow or shoulder pain that lasts more than a day or two, see a doctor. Don't "push through" arm pain.
My child's throws curve or sink. Is that bad?
For young players, throws that move are usually a sign of inconsistent grip or release. Focus on the 4-seam grip and a consistent release point. As they get older, movement can be intentional.
How long until my child throws well?
Every child develops at their own pace. With regular practice (2-3 times per week), most kids show noticeable improvement within a few weeks. Be patient and celebrate small progress.
Can girls throw the same as boys?
Absolutely. The mechanics are identical. Girls can develop just as much arm strength and accuracy with proper training.
Final Thoughts
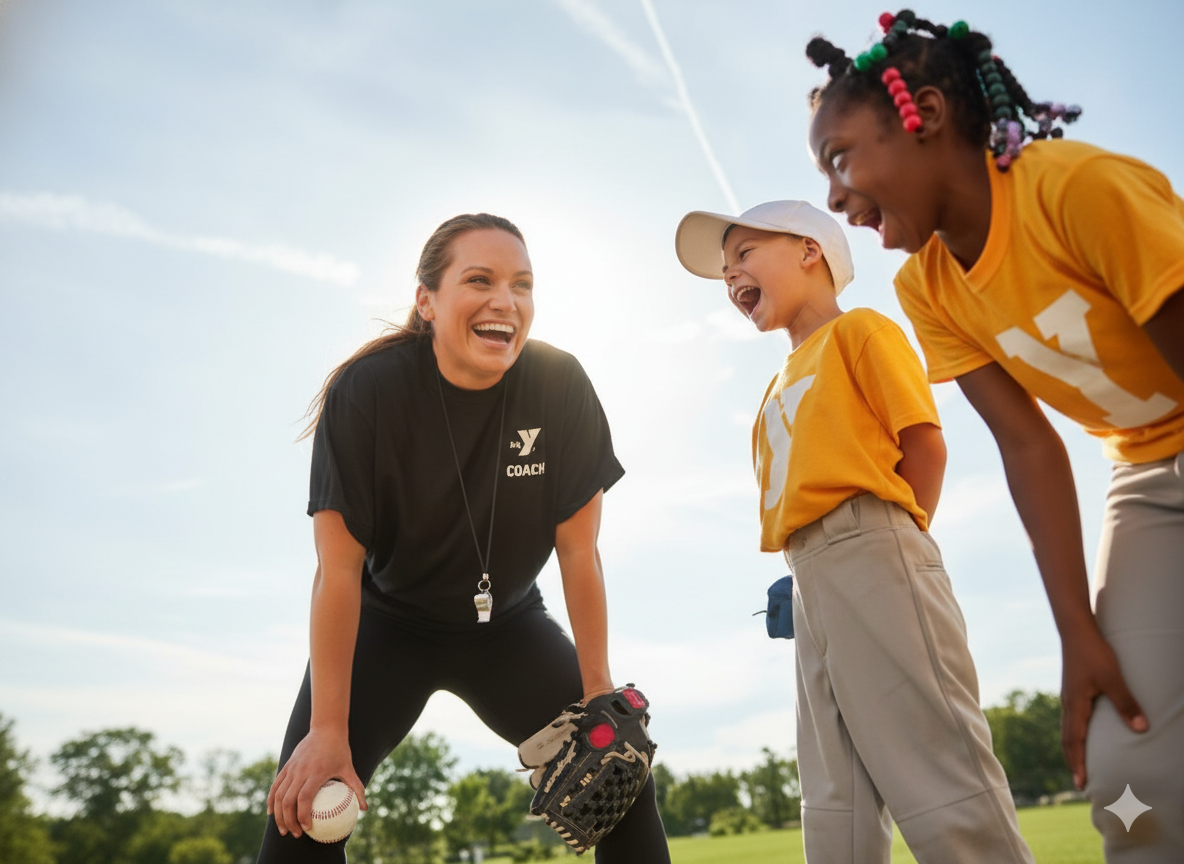
Teaching your child to throw doesn't require you to be an expert. It requires patience, encouragement, and consistency. Focus on one thing at a time, keep it fun, and celebrate effort over results.
The most important thing you can do is spend time playing catch with your child. Those backyard sessions aren't just building their throwing skills, they're building memories that will last a lifetime.
Ready to structure your throwing practice? Use our free Practice Planner to create age-appropriate practices that include throwing drills, warm-ups, and more.
Related Resources
Tags
Track Pitch Counts in Real Time
Count pitches from your phone during the game, see rest days for every pitcher, and know who is eligible before you hand over the ball.
Open the Pitch Count Tracker